
Lunchbox Recipes
Read practical nutrition tips, recipes, and evidence-based guidance from Vital Roots Nutrition to support everyday food decisions for you and your family.
September 1, 2023


With the school year just around the corner, it’s time to get ready for the daily lunchbox challenge. As parents, you want your kids to start the year with nutritious and appetizing meals that keep them fueled and focused. To help you out, we’ve gathered a selection of speedy and simple lunchbox recipes that will have your kids eagerly anticipating their midday meal.
For help putting these ideas together into complete meals, read our guide to balanced school lunches for practical tips on variety, portions, and school-day planning.
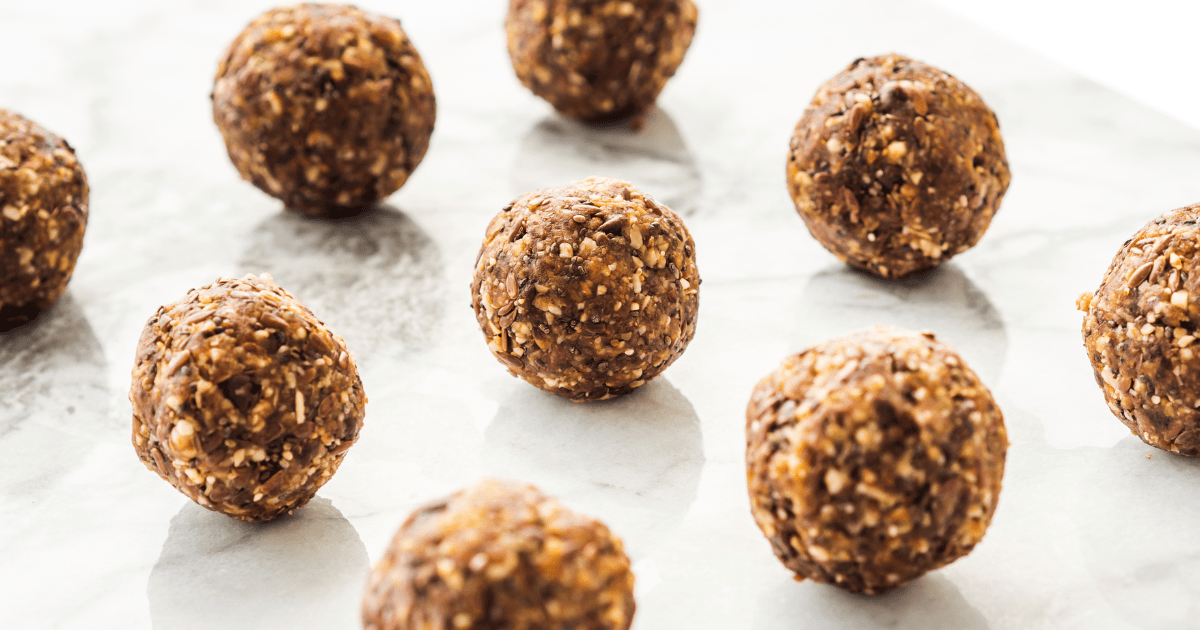
Energy Balls
Prep time: 10 minutes | Total time: 30 minutes | Makes 8-10 balls
Ingredients:
- 1 cup oats of choice (quick oats, rolled oats, whole flake oats)
- 1/2 cup nut butter of choice (peanut butter, almond butter, wow butter)
- 1 Tbsp water
- 1 tsp vanilla extract
- 1 Tbsp maple syrup or honey
- Optional add-ins: chocolate chips, raisins, shredded coconut, chia seeds, hemp hearts, M&Ms
Instructions:
- Add all ingredients to a medium bowl and stir until completely combined.
- Roll the mixture into 1-2 inch balls and place them on a tray lined with parchment paper.
- Cool in the fridge for at least 20 minutes. Serve chilled and enjoy!
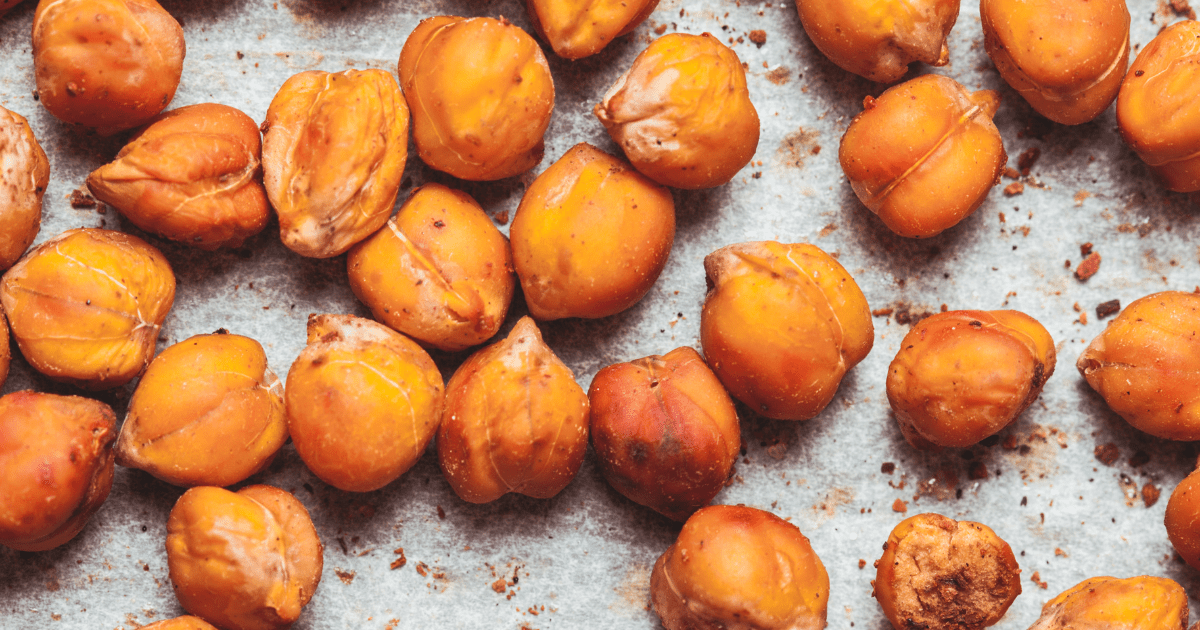
Roasted Chickpeas
Prep time: 10 minutes | Total time: 25-40 minutes | Makes 2-3 servings
Ingredients:
- 1 can (15 oz) chickpeas, drained and rinsed
- 1 Tbsp olive oil
- 1/2 tsp salt
- 1/2 tsp garlic powder
- 1/2 tsp paprika
- Optional: a pinch of cayenne pepper for spice
Instructions:
For the air fryer:
- Preheat the air fryer to 375°F (190°C).
- Pat the chickpeas dry with a paper towel to remove excess moisture.
- In a bowl, toss the chickpeas with olive oil, salt, garlic powder, paprika, and cayenne pepper, if using.
- Place the seasoned chickpeas in the air fryer basket in a single layer.
- Cook for 15-20 minutes, shaking the basket every 5 minutes for even cooking.
- The chickpeas are done when they are golden brown and crispy.
For the oven:
- Preheat the oven to 400°F (200°C).
- Pat the chickpeas dry and toss them with the oil and seasonings.
- Spread the seasoned chickpeas in a single layer on a baking sheet lined with parchment paper.
- Roast for 25-30 minutes, tossing halfway through, until crispy and golden.
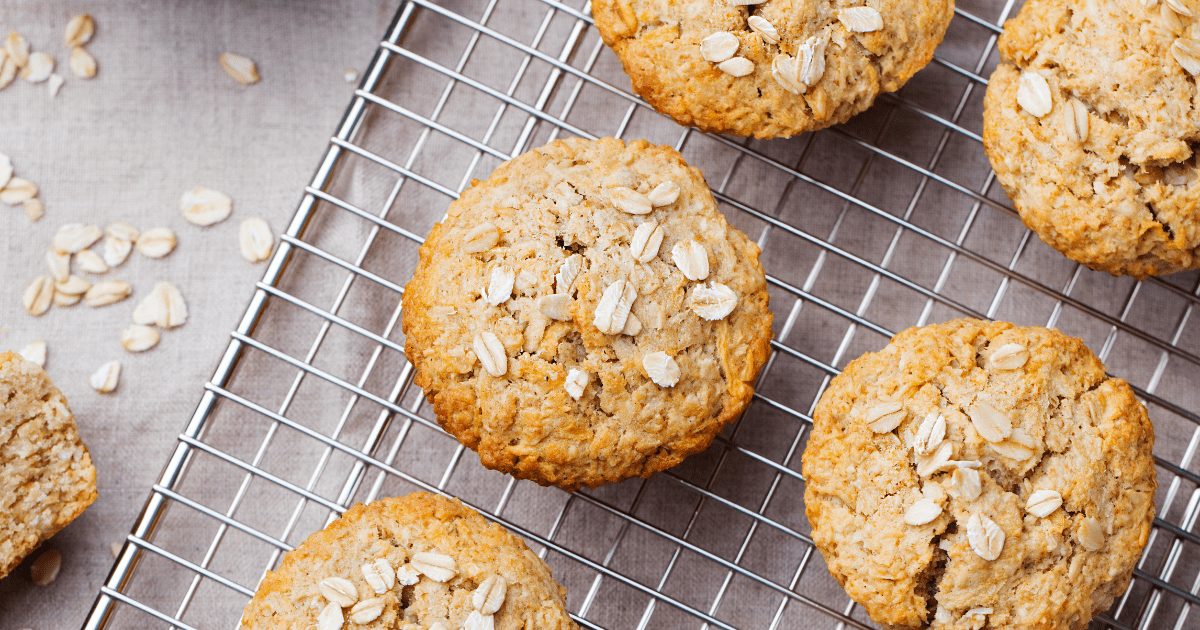
Muffins
Prep time: 10 minutes | Total time: 28 minutes | Makes 12 muffins
Ingredients:
- 3 very ripe bananas
- 1 large egg
- 1/4 cup melted coconut oil or butter, slightly cooled
- 1 cup milk or non-dairy alternative
- 1 tsp pure vanilla extract
- 1 cup whole wheat flour
- 3/4 cup rolled oats
- 1 tsp cinnamon
- 1 tsp baking powder
- 1/2 tsp baking soda
- 1/2 cup blueberries or berries of choice
Instructions:
- Preheat the oven to 375°F and grease a 24-cup mini muffin pan.
- Place all ingredients in a medium bowl and stir gently until thoroughly combined. If oil is still streaking through the batter, continue stirring until the mixture has a consistent colour.
- Divide the batter evenly among the prepared muffin cups.
- Bake for 14-16 minutes, or until a cake tester inserted into the centre comes out clean.
- Let the muffins cool in the pan for a few minutes, then transfer them to a wire rack to cool completely.
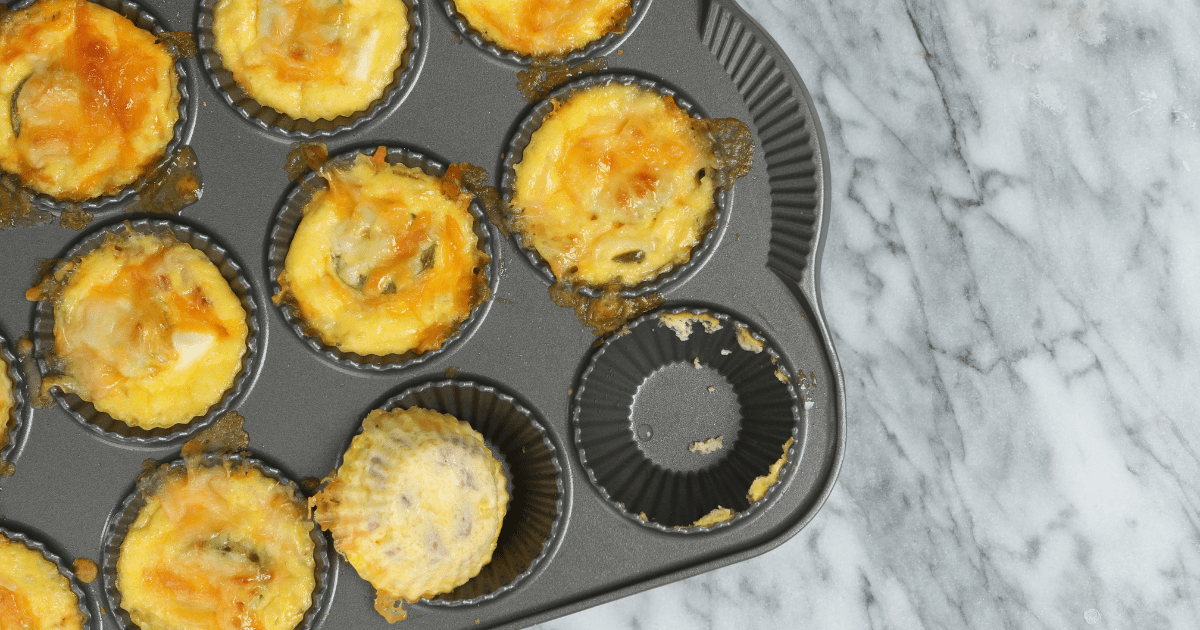
Egg Bites
Prep time: 10 minutes | Total time: 25-30 minutes | Makes 6 egg bites
Ingredients:
- 6 large eggs
- 1/4 cup milk or non-dairy alternative
- 1/2 cup shredded cheese, such as cheddar or mozzarella
- 1/4 cup diced cooked ham or cooked bacon bits, optional
- 1/4 cup finely chopped vegetables, such as bell peppers, spinach, or broccoli
- Salt and pepper to taste
- Cooking spray or muffin tin liners
Instructions:
- Preheat the oven to 350°F (175°C). Grease a muffin tin or line it with muffin tin liners.
- In a bowl, whisk together the eggs and milk until well combined. Season with salt and pepper.
- Gently stir in the shredded cheese, cooked ham or bacon, if using, and chopped vegetables.
- Pour the egg mixture evenly into the muffin cups, filling each approximately two-thirds full.
- Bake for 15-20 minutes, or until the egg bites are set and slightly golden on top.
- Allow the egg bites to cool for a few minutes before carefully removing them from the muffin tin.
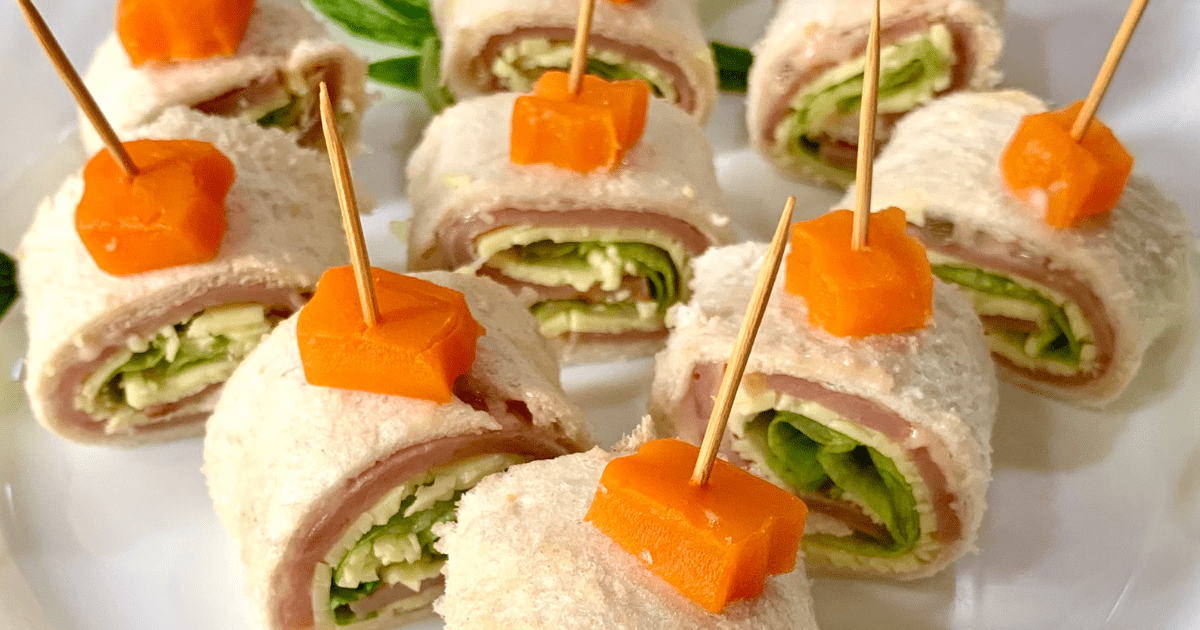
Sandwich Roll-Ups
Prep time: 10 minutes
Ingredients:
- Slices of your choice of bread, such as whole wheat, white, or gluten-free
- Filling options such as sliced turkey, ham, cheese, lettuce, tomato, cucumber, cream cheese, or hummus
Instructions:
- Flatten the bread: Place a slice of bread on a clean surface and gently flatten it with a rolling pin. This will make the bread easier to roll.
- Add the fillings: Layer your chosen fillings onto the flattened bread. For example, spread a thin layer of cream cheese or hummus, add turkey or ham, and top with lettuce, tomato, and cucumber.
- Roll it up: Starting from one end, carefully roll the bread and fillings together tightly. Press gently to secure the roll-up.
- Slice and serve: Use a sharp knife to cut the roll-up into bite-sized rounds or pinwheels.
- Pack and enjoy: Place the sandwich roll-ups in your child’s lunchbox and keep them chilled until lunchtime.
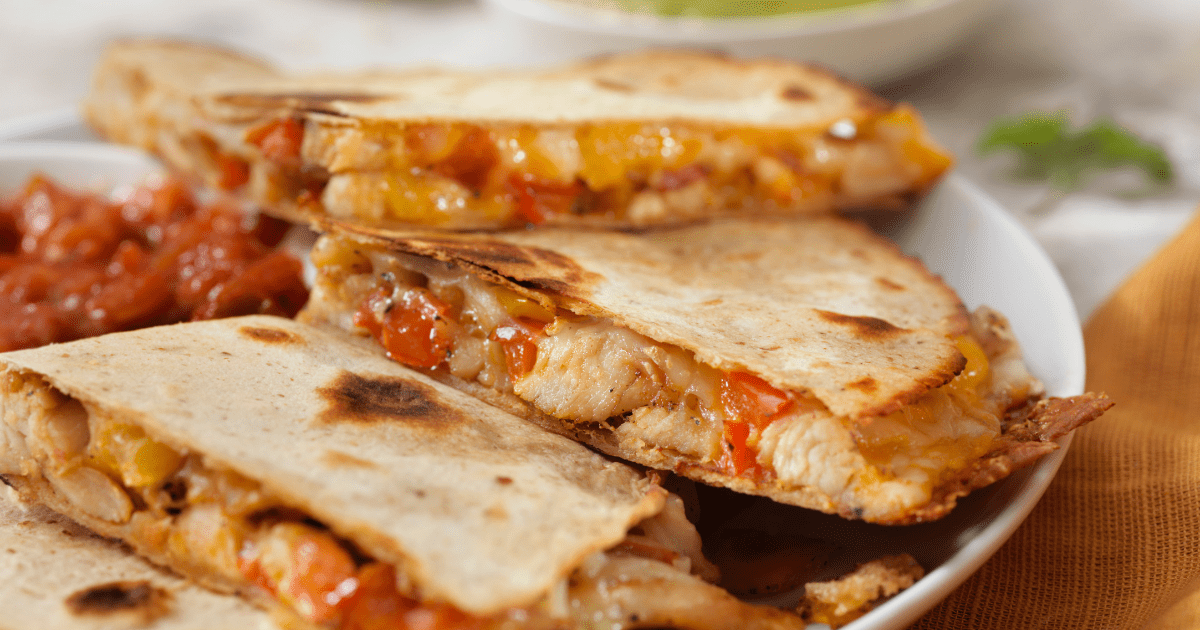
Lunch Box Quesadillas
Prep time: 10 minutes | Total time: 16-18 minutes | Makes 2 quesadillas
Ingredients:
- 2 large flour tortillas, such as whole wheat or gluten-free
- 1 cup shredded cheese, such as cheddar, mozzarella, or a blend
- Filling options such as cooked chicken, bell peppers, onions, beans, salsa, or guacamole
- Cooking spray or a small amount of butter
Instructions:
- Prepare the fillings: Dice or slice any cooked chicken or vegetables into small pieces and set aside.
- Assemble the quesadillas: Lay one tortilla flat and sprinkle half of the shredded cheese evenly over one side. Add your desired fillings without overstuffing the tortilla.
- Add more cheese: Sprinkle the remaining cheese evenly over the fillings.
- Fold and press: Fold the tortilla in half over the fillings and press down gently.
- Cook the quesadilla: Heat a non-stick skillet or griddle over medium heat. Lightly grease it with cooking spray or butter, if desired, and place the folded quesadilla in the skillet.
- Cook and flip: Cook for 2-3 minutes on each side, or until the tortilla is golden brown and the cheese has melted.
- Slice and pack: Let the quesadilla cool slightly, then cut it into wedges and pack it in your child’s lunchbox.
As your kids step into a new school year filled with opportunities, we hope these recipes make your mornings smoother and their school days more satisfying. Here’s to a fantastic school year ahead, packed with enjoyable lunches and successful learning!
If packing lunches is difficult because of selective eating, sensory preferences, allergies, or nutrition concerns, pediatric nutrition support can help you develop realistic options for your child.
Get In Touch
Fill out the form below, and we’ll follow up with you as soon as possible.
READY FOR PERSONALIZED SUPPORT?
Need Guidance Beyond The Article?
Our resources are a helpful starting point, but personalized nutrition counselling can give you support tailored to your health, goals, family, and everyday routines.